In this post, we are going to show you how you can Configure DNS on the Webmin control panel.
As you know Webmin is a free and open-source control panel that is supported on lots of operating systems. We have explained a lot about Webmin in our previous posts. We explained about Webmin’s installation, how to add a user and create a database on it, how to install an SSL certificate and etc.
How to Configure DNS on Webmin
As the first step, log into Webmin at https://IP address:1000.
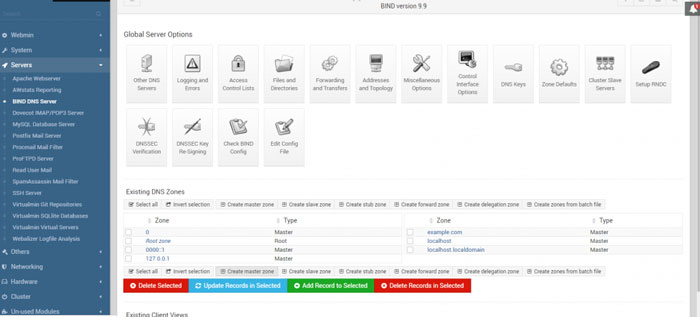
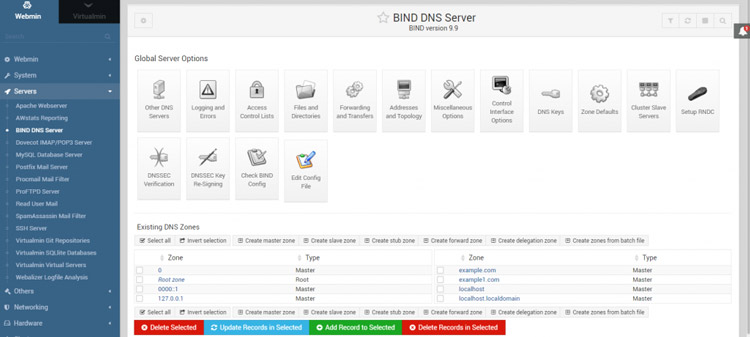
From the menu on the left, click on “Servers” and then from the dropdown, click on the “Bind DNS Server”. On the new page, you’ll see a table of all the existing DNS Zones. On the top and the bottom of that table, there are some options. Click on the “Create master zone” to continue.
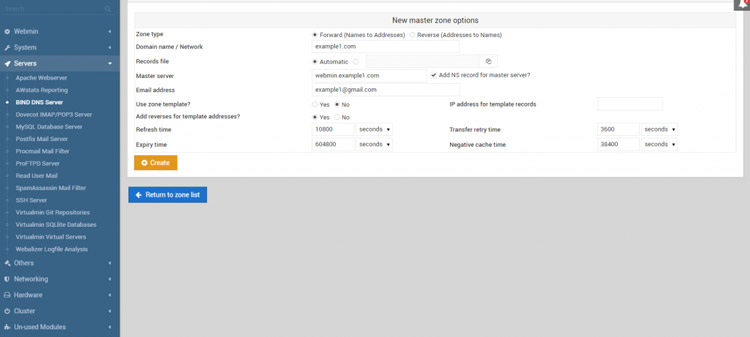
On the Create master zone page, you need to enter some information:
- Domain Name: The domain you are configuring DNS for.
- Master Server: write a hostname here.
- Email Address: Your Email address.
Give this information and click on the create button.
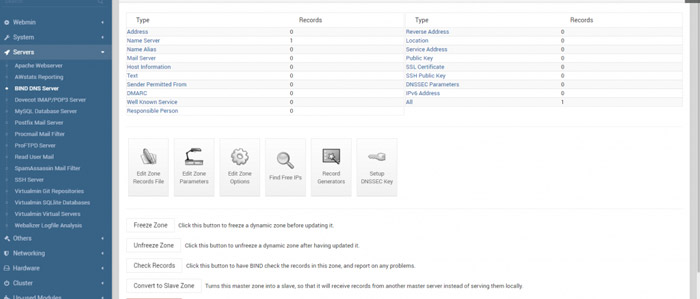
Click on “Return to zone list” and find addresses.
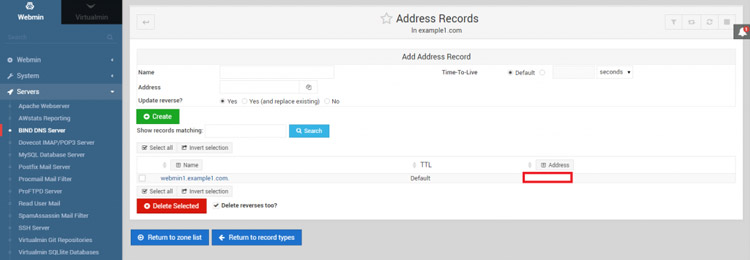
Here you’ll see two fields:
- Name: Choose a name and write it here. For example Webmin.
- Address: Write your server‘s IP.
Create the Address record and on the bottom of the page click on the “Return to record type” button.
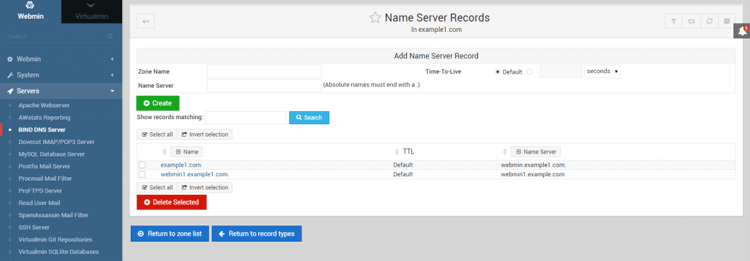
On the new page, find the Name Server’s icon and click on it. There you’ll see two fields:
- Zone Name: Pick and type in any name such as Webmin.
- NameServer: Write a nameserver like webmin.example.com.
Create the NameServer record and click on the “Return to zone list” to go back.
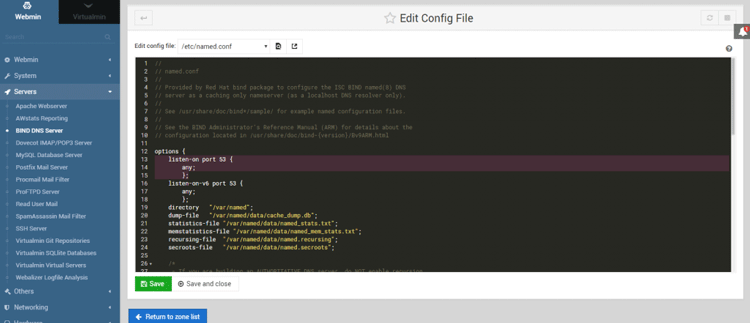
On the Bind DNS Server page, click on the “Edit config file” option. Enter the server’s IP in the “listen on port” and “allow query” section and save the changes. Now after you returned to the last page, click on the “apply configuration” button then stop and start it again.
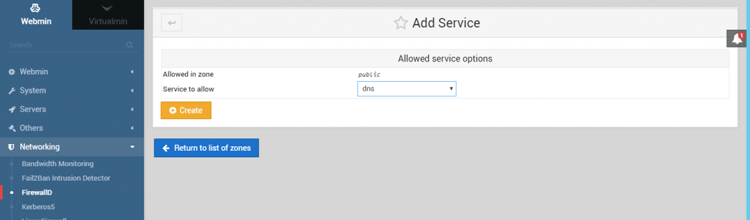
In the end, on the Network section, click on “Add Allowed Services” and save.
Hope you enjoyed this post if you did, you can visit our blog for more!