Webmin is a hosting control panel that can run on Linux and Windows. However, it has some limitations when you run it on Windows. The best-supported systems at the moment are Solaris, Linux (Redhat in particular) and FreeBSD. This control panel is free and open-source so you can use it with no limitation. In this post, we are going to show you how you can install and setup Webmin on your servers.
Webmin Installation and Post-installation Process
This control panel has an easy installation process. You can upload the installation file using just one command.
1- Establish a remote connection to your servers using PuTTY (for Linux) or Remote desktop connection (for Windows).
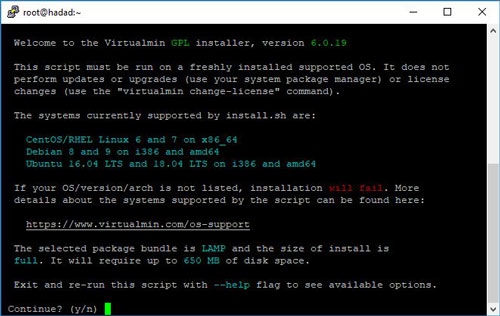
2- Now copy and paste this command.
wget http://software.virtualmin.com/gpl/scripts/install.sh && sudo /bin/sh install.sh
3- Now go to your browser and type in the address below, to continue the setup process.
https://Server's IP:10000
4- Login to your account with the following details:
- Username: root
- Password: Server’s Password
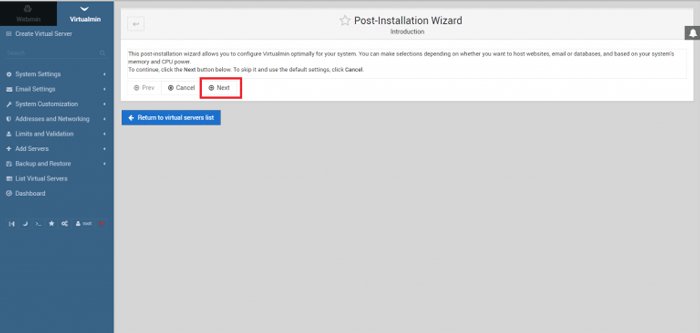
5- On the dashboard, click on the Next button.
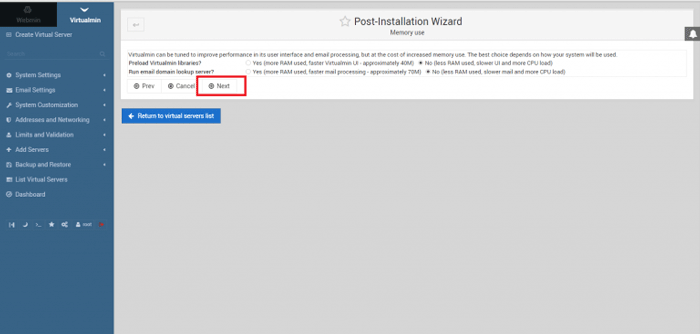
6- In this step, it will ask you if you need more RAM for the users you’ll be making in the future. This setting can be changed and edited in the future so just skip it.
7- If you are going to host lots of websites on this server, you might have Email spamming problems. To solve this, you can install the ClamAV scanner during the Webmin installation process. If you want to install this scanner, check the Yes box. However, we don’t recommend installing these suggestions for the default installation.
8- In the next step, it asks you if you need Spamassassin to scan your emails. If you need any of these additional features, check the Yes box and continue.
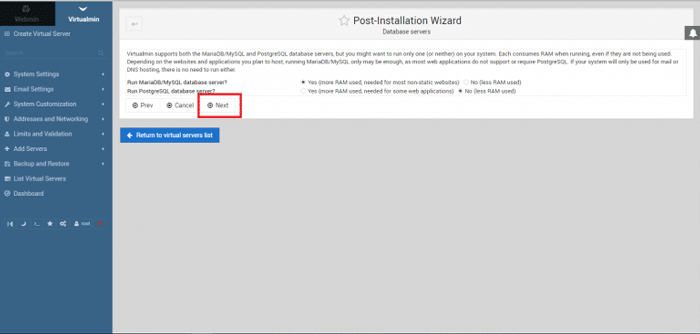
9- Webmin is going to create a database and will get the amount of RAM and Processors from you. So type in the needed amount of the resources to continue the process.
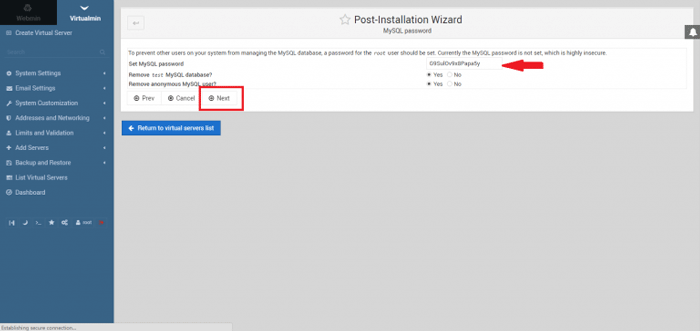
10- Setup a password for your database. You can choose a new password or use the password for the root.
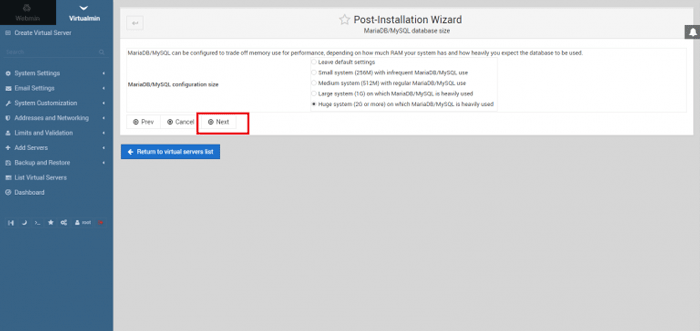
11- How much space you want the database to have.
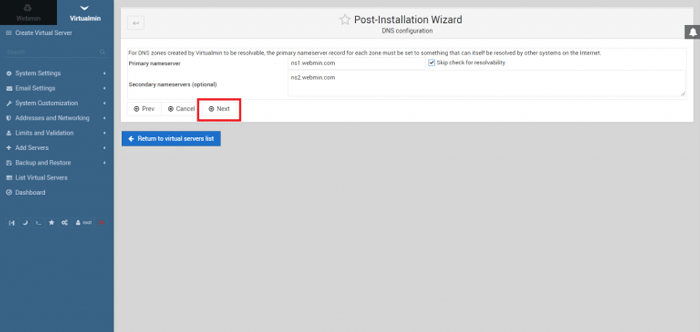
12- Type in your default NameServers here.
13- One of the best things about Webmin is that you can change and secure your password in different ways. For example, you can hash the password to increase your server’s security.
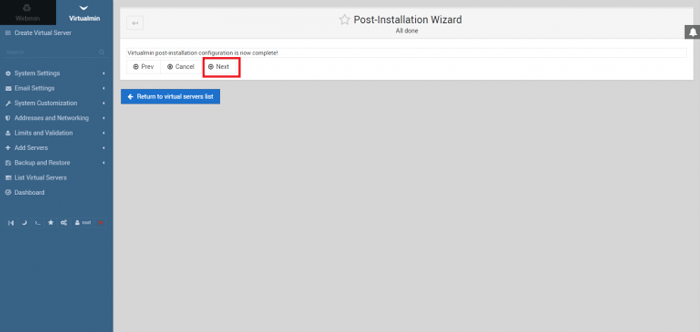
Your installation is finished and you can use your control panel. In our future posts, we are going to tell you more about this control panel.
Hope you enjoyed this post if you did, you can visit our blog for more!