In our last post, we guided you through the installation and post-installation process of the Webmin control panel. In this post, we are going to show you how you can add a user to this control panel.
Just like any other control panel like cPanel, DirectAdmin, CyberPanel, Plesk and etc. there are two access levels for Webmin. You can either log in as root (admin) or as a user. If you log in as root, you have access to everything and you are unlimited. However if you log in as a user, you are limited to some actions that the admin gave you the permissions for. This means that only admins (anyone with root access) can add a user and set user’s permissions.
Add a User to Webmin
1- So as we explained above, the first step is to log in as root to the Webmin control panel. Webmin has two main sections:
- Virtualmin: Here you can create VMs.
- Webmin: Here you can add new users and set their permissions.
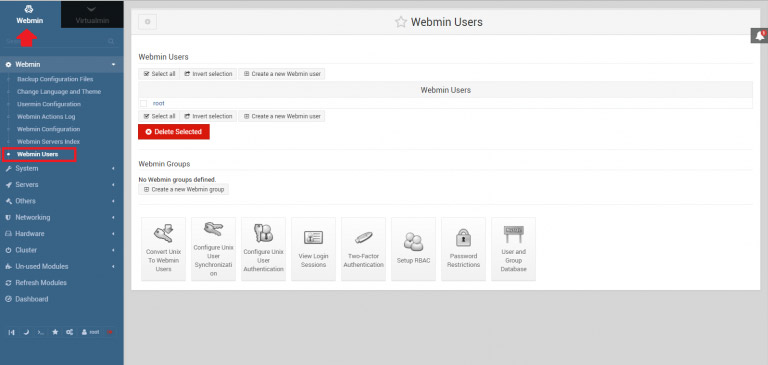
2- So after logging in to the Webmin’s dashboard, on the top-left side of the window, you’ll see Virtualmin and Webmin. Click on Webmin.
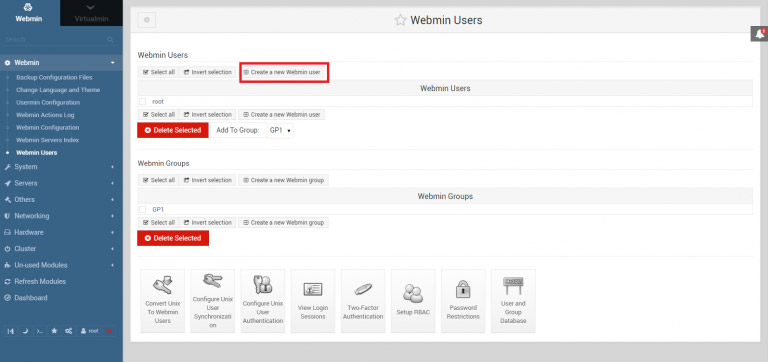
3- From the dropdown, choose the “Webmin Users” option.
* Create a group: Webmin has this feature that allows you to create groups with preferred permissions. So when you create a user, you can add it to a group and all users in one group have the same permissions. This helps you when you want to create lots of users with the same permissions. Here is a picture that shows you how you can create a group:
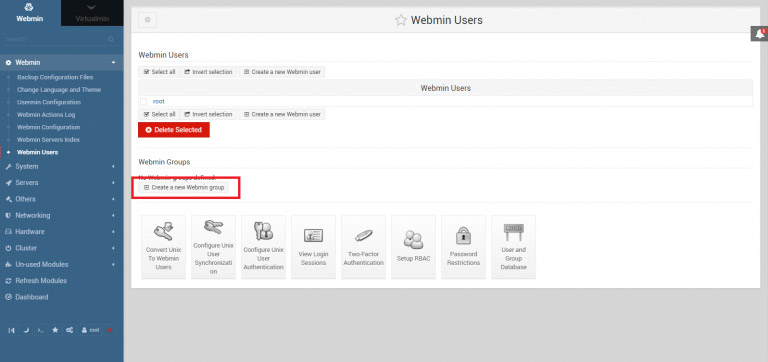
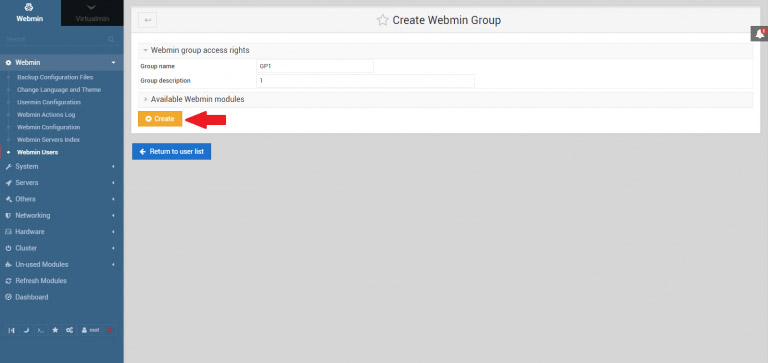
so all you have to do is to choose the group’s name and click on the create button.
4- To add a user, on the Webmin Users page click on the “Create new user” option.
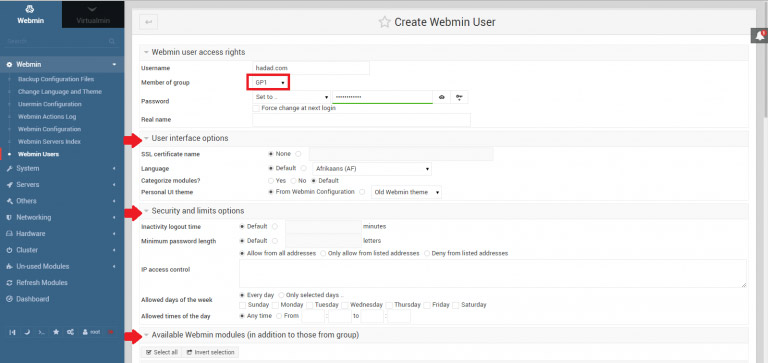
5- In the first section, type in a name for the new user then choose its group and set a password for it. In the other section, you can set preferred permissions and limitations for the user.
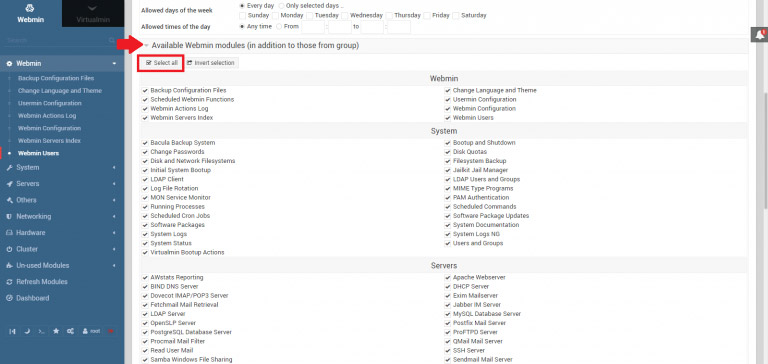
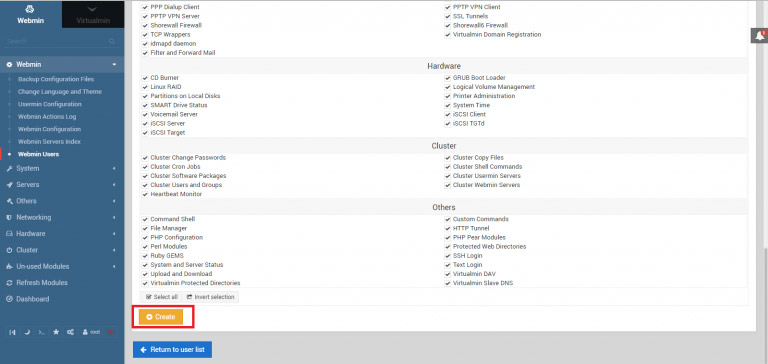
6- In this section, since we want our user to have all the needed access as a host, we need to give it all of the modules. So, click on select all and go to the bottom of the page and click on the create button. Now you have added a host to your Webmin.
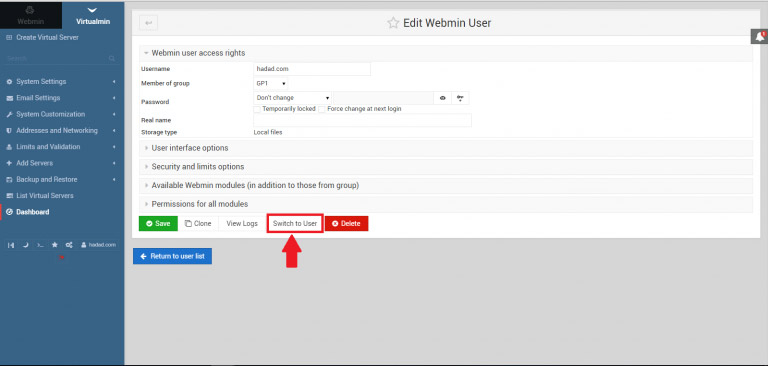
7- To see the host that you added, go to the Webmin users page again and click on the user you want to log in as. On the page shown below, click on the “Switch to User” to log into the user’s panel.
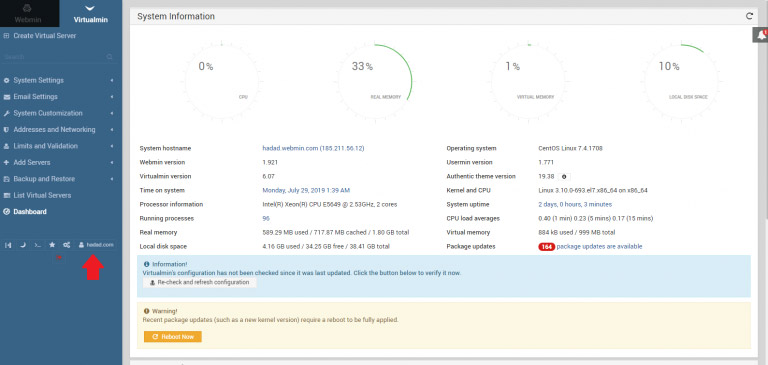
8- This is what your new user’s panel looks like:
Hope you enjoyed this post if you did, you can visit our blog for more!