In our last post, we have explained fully how you can install DirectAdmin automatically on your server. DirectAdmin is a hosting control panel that is supported on Linux. cPanel is another control panel that is supported on Linux. In this post, we are going to explain the installation of this control panel on CentOS.
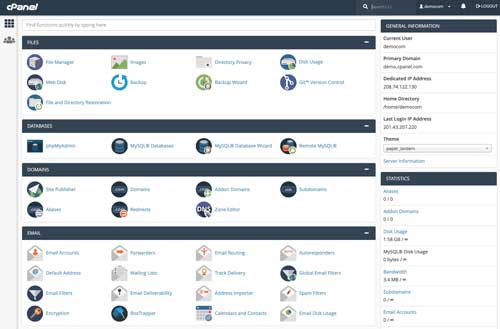
cPanel is like any other control panel. In cPanel’s dashboard, You can do things like managing your files, creating a backup, managing your webmail and etc.
- Attention! When you install any control panel on a VPS or dedicated server you can’t uninstall it without reinstalling OS. Reinstalling the OS means you have to remove all of the server’s data and install the operating system again. cPanel is just like any other control panels so it doesn’t have an uninstaller.
Perl installation:
Before installing cPanel, you need to make sure that Perl is installed on your server. For installing Perl, establish an SSH connection with root access to your Linux Server and use this command to install Perl.
sudo yum install perl
Another important thing before installation is your hostname. cPanel is highly sensitive about the hostname. If you don’t choose an FQDN (Fully Qualified Domain Name) hostname, you’ll see this error:
461 (ERROR): Your hostname () is not set properly. Please 462 (ERROR): change your hostname to a fully qualified domain name, 463 (ERROR): and re-run this installer.
Choose this command to change your hostname to an FQDN one.
hostname your FQDN
If you can’t choose a good hostname at the moment, choose a temporary one with this command.
hostname host.example.com
After installing cPanel you can log into the WHM control panel > Networking setup > change hostname and change the hostname.
Installing cPanel on CentOS
We should mention that this is a very easy but time taking process. During these steps, you shouldn’t worry about the internet connection. This is because this process takes place on the server-side so even if you disconnect from the server, the installation continues.
Install the screen and wget:
sudo yum install screen wget
Start a session:
screen
Install WHM:
wget -N http://httpupdate.cPanel.net/latest
Run the script:
sh latest
The installation might take about 1 or 2 hours. After the installation is completed, you can easily log in to your WHM using a browser and one of these addresses:
https://ip address:2087
http://ip address:2086
Your login information are the server’s username and password.
username: your_server_user password: your_password
Hope you enjoyed this post if you did, visit our blog for more!