In our last post, we explained fully about CSF and its installation on Linux servers. Now, we are going to show you how you can install and access CSF configurations on the Webmin control panel.
Webmin is a free and open-source control panel that we have explained about different functions of it like adding users, installing SSL, and etc in our previous posts. On most control panels, after you install CSF on your servers (which we have already shown you how you can do that in our last post), you’ll see it on the Plugins page. But on Webmin, this is different. There are some steps you need to do to access CSF.
CSF on Webmin
As we said above, before accessing the CSF configurations, first you need to install CSF on your servers. Take a look at the link below if you need help installing CSF:
CSF Installation on Linux Servers
After the installation, the CSF is in the testing mode so we need to change that. First, go to the path below:
Vi /etc/csf/csf.conf
Change the testing mode from 1 to 0 and then restart the CSF and LFD using these commands:
Service csf restart
Service lfd restart
Now follow these steps to access CSF configurations:
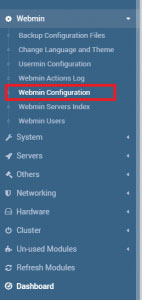
log into Webmin and go to the Webmin tab. Find the “Webmin Configuration” on the menu and open it.
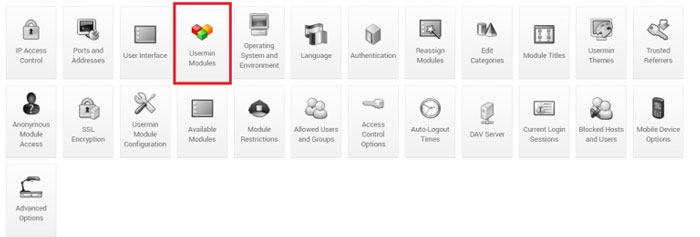
On this page, you’ll find “Usermin Modules”.
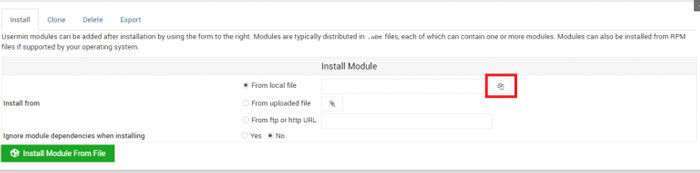
In the “Install Modules” section, you need to choose the CSF setup file which is in the path below:
User/local/csf/csfwebmin.tgz
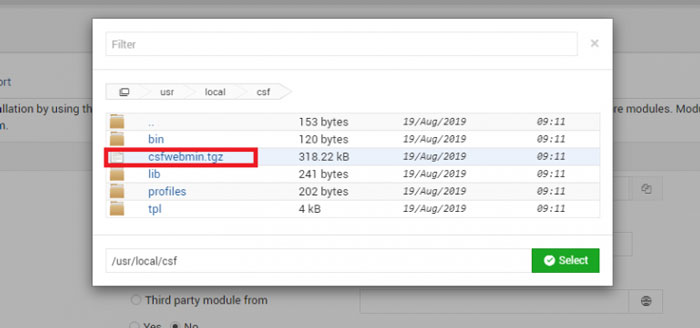
Choose the file and click on the Install Modules button.
At the end of the installation, you’ll see a Firewall icon on the dashboard. By clicking on that icon, you can access different CSF configurations and features like allowing or denying IPs.
Hope you enjoyed this post if you did, you can visit our blog for more!