When you buy a VPS or a dedicated server, before installing a control panel, WHM or anything else on that server, you need to make sure the server is secured. Some people think that just because their server is brand new and doesn’t have that much data on it, hackers won’t attack them. However, you should know that sometimes hackers don’t care about data and all they want are your server’s resources. For example, hackers can attack your CPU or bandwidth with a DDoS attack or etc. There lots of ways to secure a Linux server. The most famous way is installing CSF which is a type of firewall. CSF stands for Config Server Firewall and it is a free software with lots of tools to help you secure the server. In this post, we are going to show you how you can install CSF on your Linux Server.
CSF Installation Guide
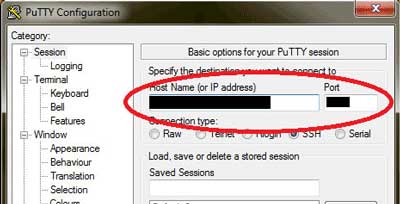
Installing software on servers is different from installing software on a PC. Since you don’t have access to the server physically, you need to connect to the server remotely. SSH or Secure Shell is the best way to connect to a Linux server. A Linux server is a server that has Linux as its operating system. SSH is a command-line without GUI that helps you send commands to your server. To establish an SSH connection you need PuTTY software on your computer. After opening the PuTTY program, enter the server’s IP and the port. The default port for an SSH connection is 22 so only enter the port if you have changed it before. After clicking on open, enter the username and the password to log in. * You won’t see anything when you are typing the password but don’t worry just type it and press “Enter” *.
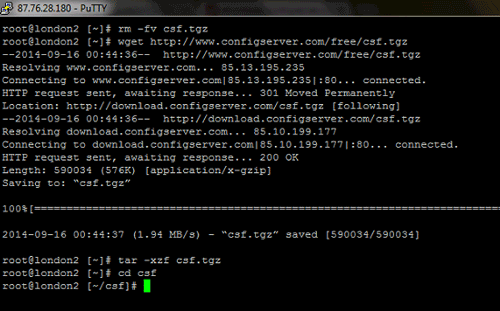
Now enter this command to start the CSF installation:
cd /usr/src && rm -fv csf.tgz && wget https://download.configserver.com/csf.tgz && tar -xzf csf.tgz && cd csf && sh install.sh
This is what you see before the command:
And here is the message you’ll see after the installation is complete:
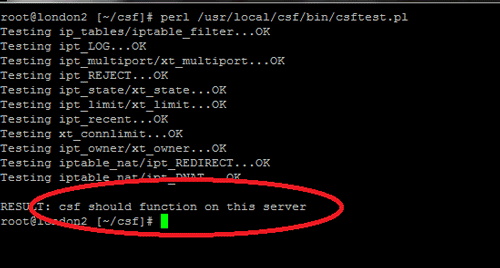
As the last step, you need to install iptables on your server. To do that, enter this command:
perl /usr/local/csf/bin/csftest.pl
You will see the message above again when the installation is complete.
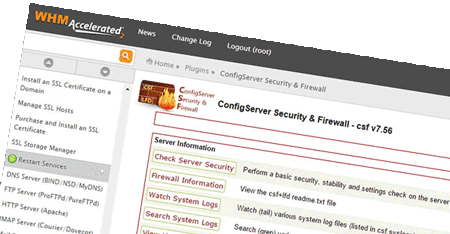
With these a few easy steps, you have installed CSF on your server. Now you can log into your WHM and from the Configserver Security &Firewall section, config CSF however you want.
Hope you enjoyed this post if you did, you can visit our blog for more!