On September 25th, 2019, the Plesk company released a new version called “Plesk Obsidian”. As you know, Plesk is a control panel for both windows and Linux servers but works better on Windows. This new feature changed the way you can get SSL comparing to the older versions. In this post, we are going to show you how you can get free SSL using Plesk Obsidian.
Having an SSL certificate is a necessity these days. If your website doesn’t have an SSL certificate, browsers like chrome label you as an untrusted website. So, if you don’t have SSL, it will reduce your website views because fewer people will trust your website. There are lots of ways to get SSL for your domain and all of them should be activated in the control panel at the end.
We should mention that all AiroServer.com‘s shared hosting services
Get Free SSL using Plesk Obsidian
1. Login to your control panel with your username and password.
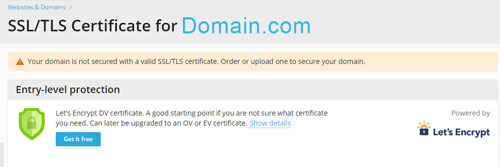
2. Now from the dashboard of the Plesk Obsidian, go to the SSL/TLS Certificates page.
3. In the window that is shown in the picture below, click on the “Get it free” button.
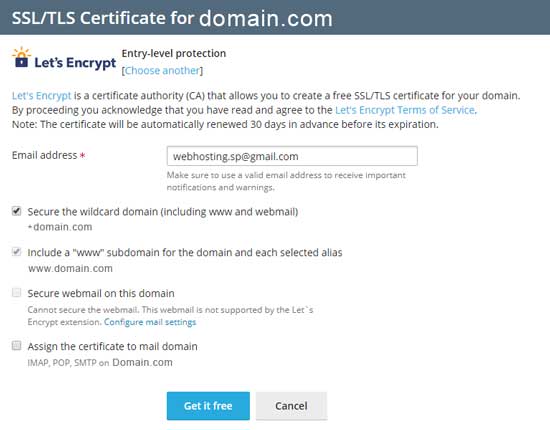
4. On the SSL/TLS certificate for (YourDomain) page, click on the Get it Free button. There are also some checkboxes you can check if you want:
- Secure the wildcard domain (including www and webmail)
- Include a “www” subdomain for the domain and each selected alias
- Secure webmail on this domain
- Assign the certificate to mail domain
If you check the first two boxes, all of your subdomains and your domain with www will also get secured.
One of the pros of using Let’s encrypt is that you don’t need to renew or reinstall the SSL ever again. It will automatically get renewed and you only need to activate the SSL certificate once on the host side after setting the Nameservers.
Hope you enjoyed this post if you did, you can visit our blog for more!