In our latest posts, we have fully introduced and explained three hosting control panels which you can install on Linux. These three control panels are DirectAdmin, cPanel and CyberPanel. DirectAdmin and cPanel are two Proprietary control panels but CyberPanel is free. In this post, we are going to introduce Plesk which is another control panel that runs on both Windows and Linux. We are going to show you how you can install this control panel on your servers.
Plesk Installation Guide
Before installing this control panel make sure your server is a windows server.
1- Establish a remote connection to the server using Remote Desktop Connection.
2- Download the file and then click on the installer file to start the installation process.
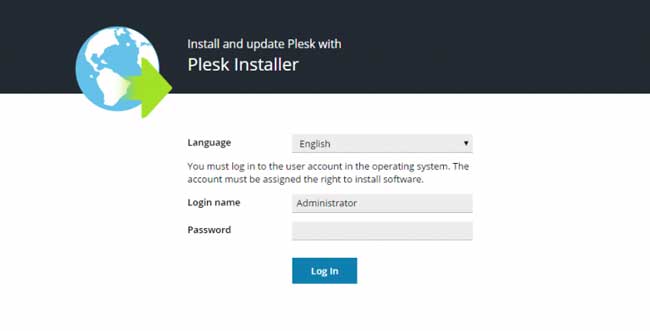
3- Choose the Language and then type in the server’s username and password to log in.
4- After logging in you’ll see three different options:
- Install or upgrade product
- Add components
- Update components
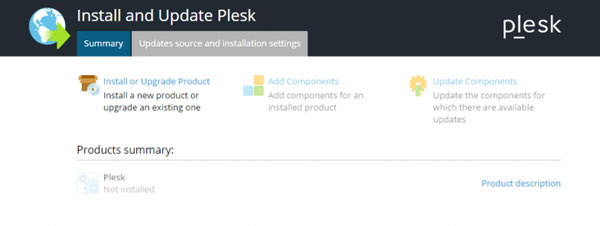
We only need the first option here because the other two are for when you have installed the control panel and you need to update or add components to it.
There is also a tab here called “Update source and installation settings”. If you want to do some specific configurations you need to choose this tab or else choose the summary tab for a quick installation.
Here are the things you can do on the “Update source and installation settings” page:
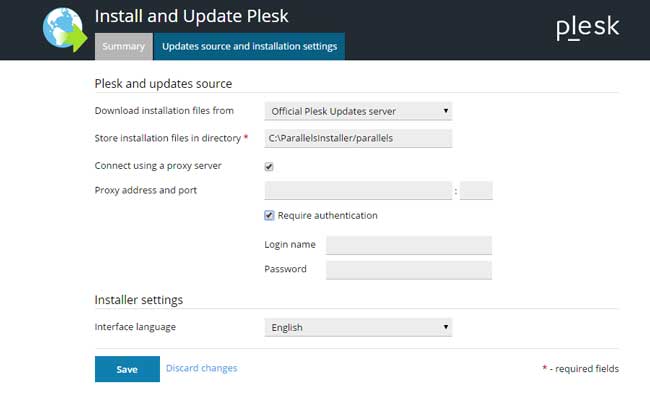
- Change the Source: By default, Plesk Installs the control panel from its company’s server. If you want to install it from other sources you can change the source here.
- Change the directory: If you can choose a specific directory to install the control panel on it.
- Proxy Server Access
- Choose control panel’s language
The summary tab:
5- Click on the “install or upgrade” option on this tab to continue the quick installation.
6- Here you need to choose the version of Plesk that you want to install. Choose the latest Plesk Onyx version and continue.

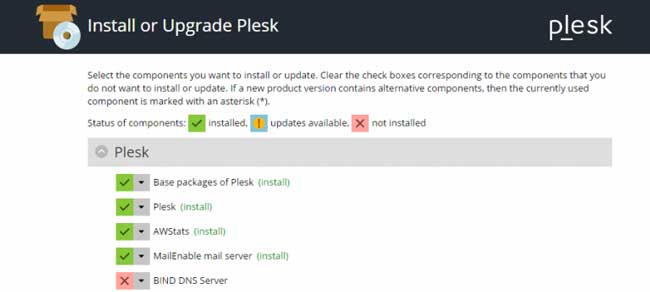
7- There are three different installation types that you can choose from.

- Recommended: This is the most popular option. If you choose this, Plesk will automatically install all the extensions that are needed for web hosting such as Mail server, DNS, Web server, Database, and etc.
- Full installation: This option needs a lot of space on your server since it installs all of the services that it has. We do not recommend this option because most of these services you will never need and use.
- Custom: This option is for the ones who exactly know which services they need.
Choose one of these options and click on the “Preview components selection” to manage the extensions and to remove one if you don’t need it.
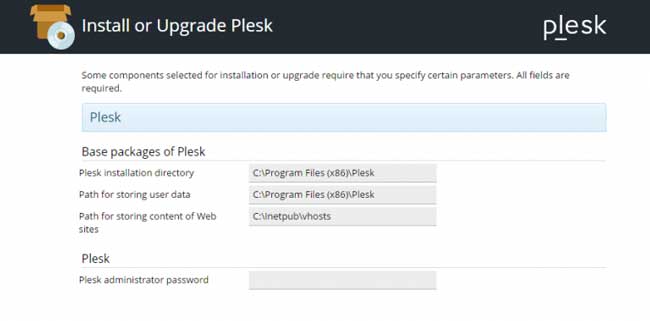
8- Here you should select the installation directory, a path for storing data and websites’ content, and the Plesk administrator password.
The installation begins now and it may take 30 to 90 minutes depending on the number of the services you are installing. After the installation is finished you can access Plesk at server IP:8880.
Hope you enjoyed this post if you did, you can visit our blog for more!