First, to create a VM on Poroxmox, you must create the Proxmox virtualizer on your dedicated server.

Step 1 – Upload the ISO to Proxmox VE
The first step when creating a VM on any hypervisor is to make sure can install an operating system on the VM. Proxmox makes it easy to upload your ISO through the user interface. To get started, click on local from the side panel on the left side of your screen.
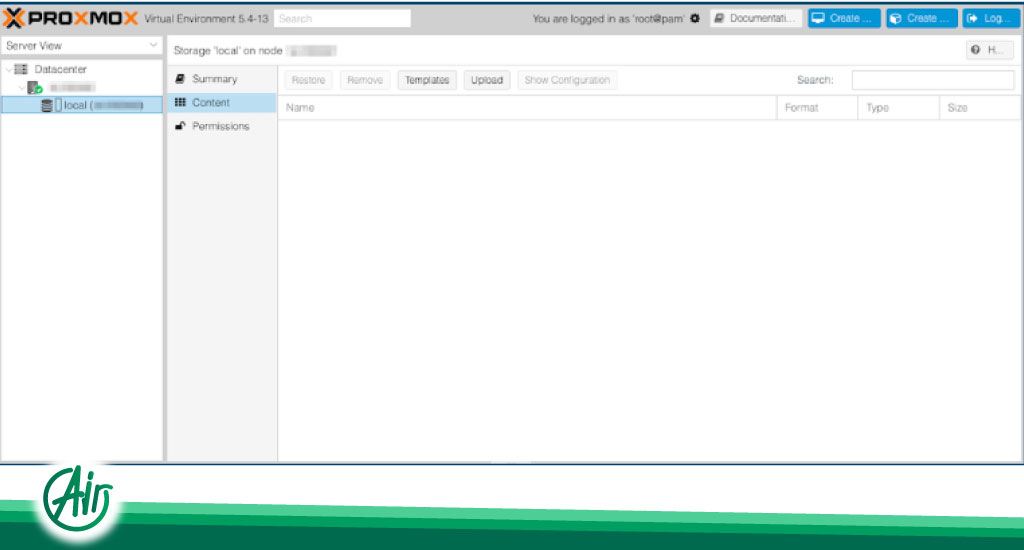
Then, in the “Content” section, click the Upload button at the top of the page.
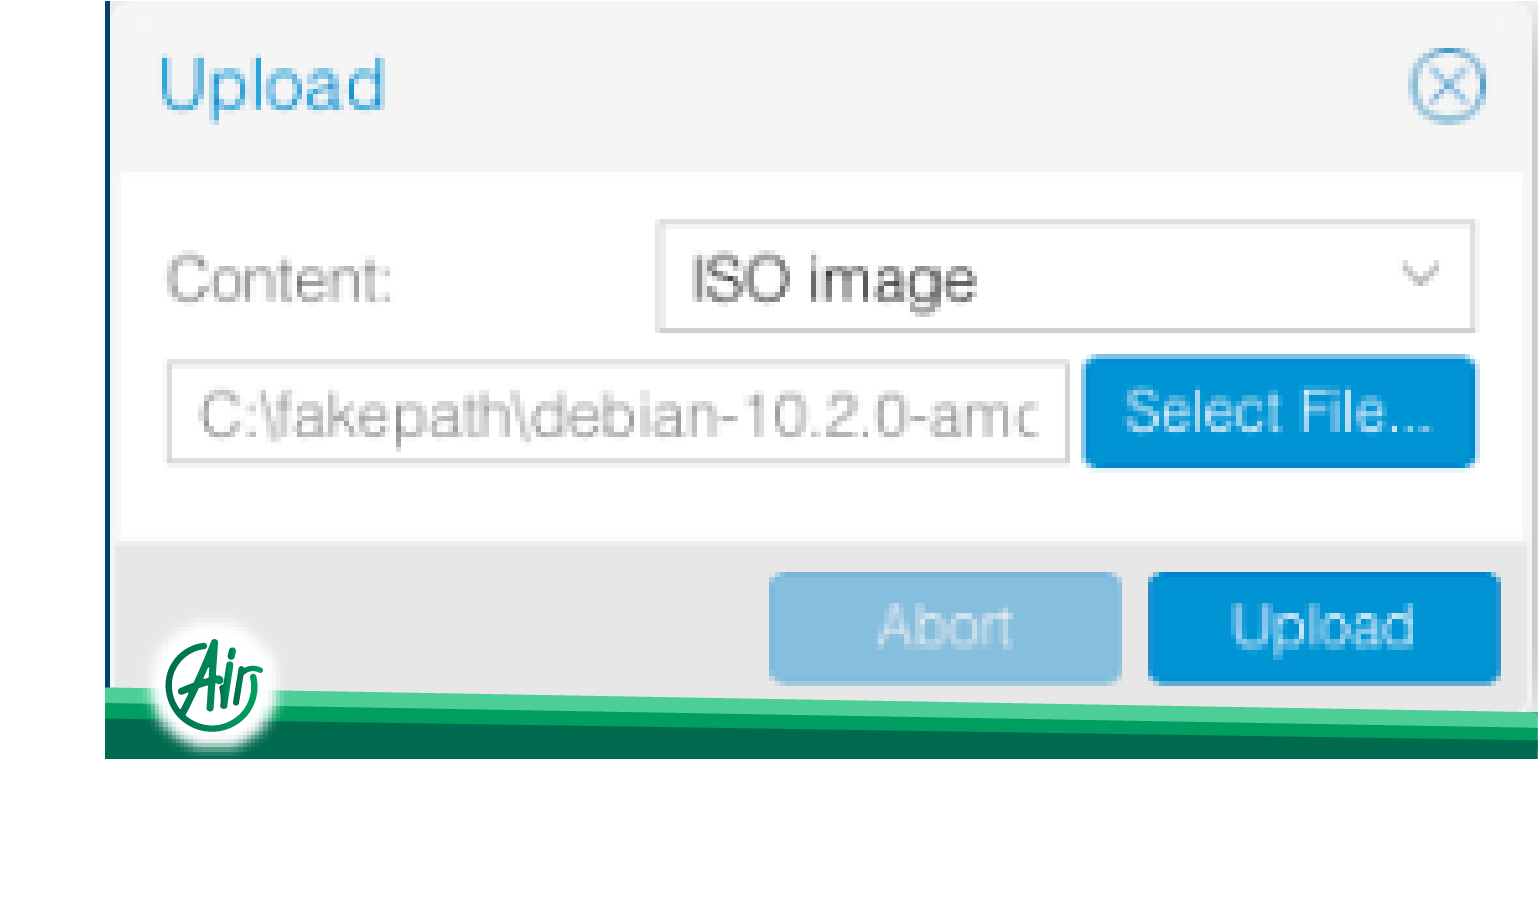
Click the Select File… button in the pop-up window and select the ISO you want to upload from your local drive. Then click the upload button.
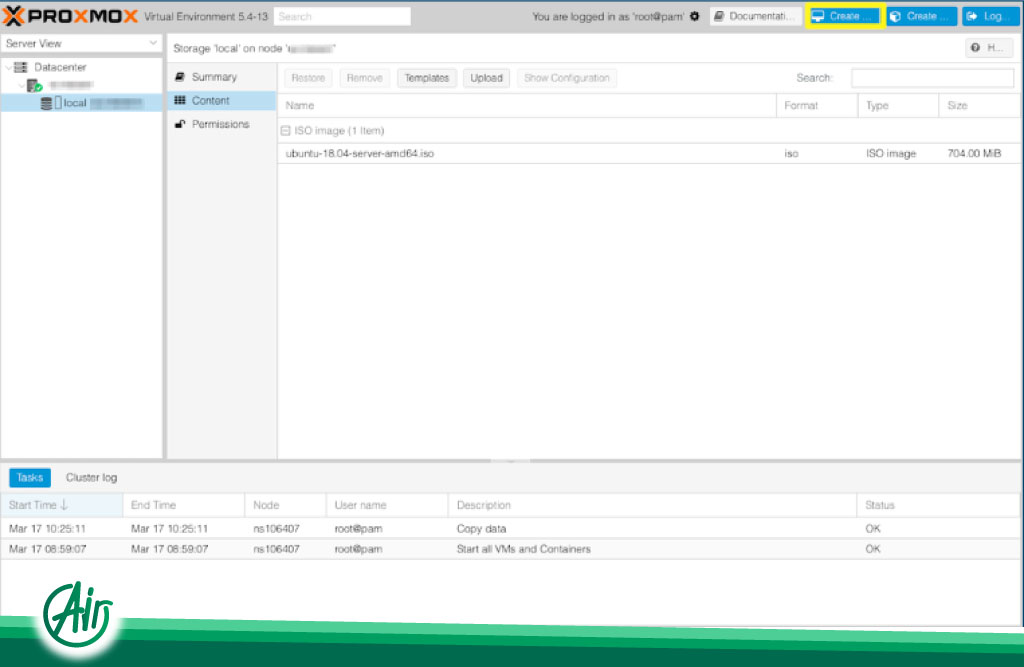
How long it takes for your ISO to upload depends on your network speed and ISO size. After the upload is complete, you are ready to create your VM in Proxmox.
Step 2 – Create a VM in Proxmox VE
To create a VM in Proxmox VE, click Create VM at the top of the page.
This will bring up the following VM settings window.
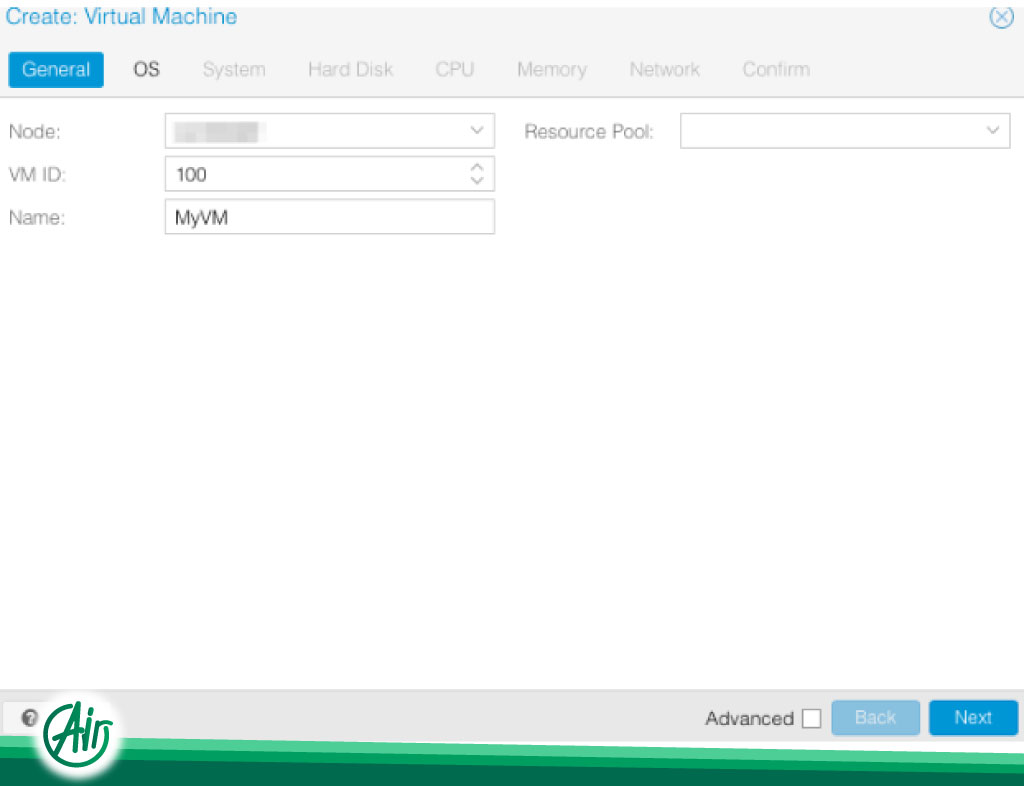
Give your VM a name and then click the Next button. On the OS tab, select your ISO image to install your operating system.
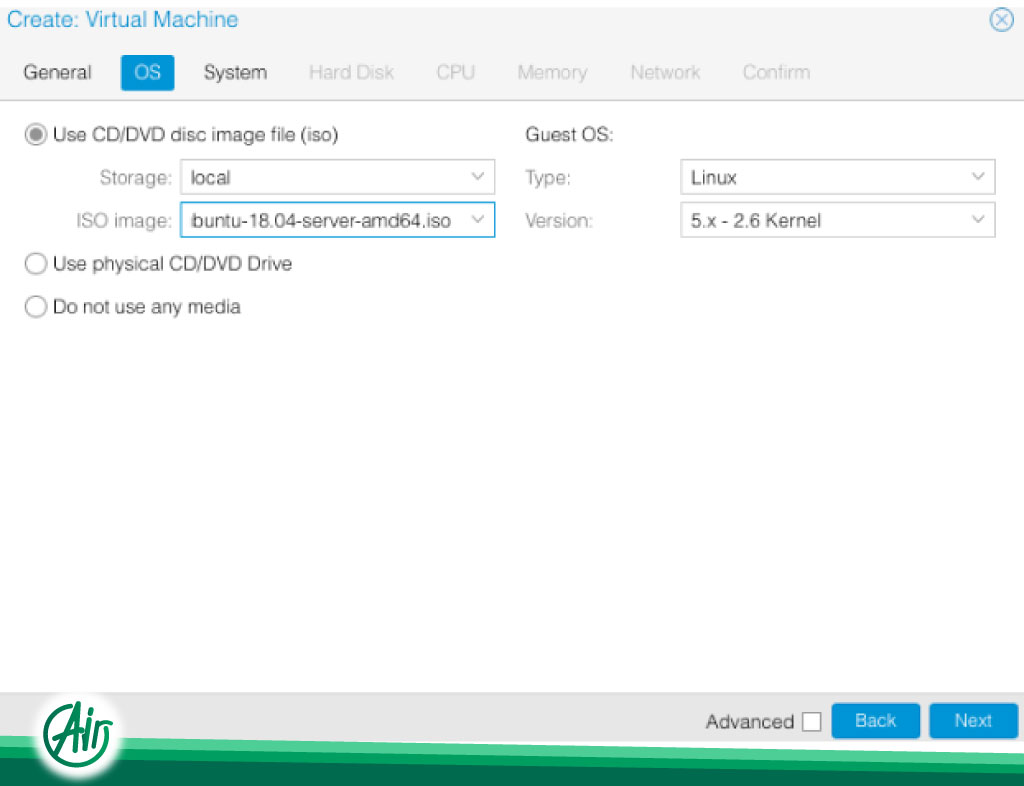
After selecting your operating system, click Next. On the Hard Disk tab, select the amount of storage space you need for the VM.
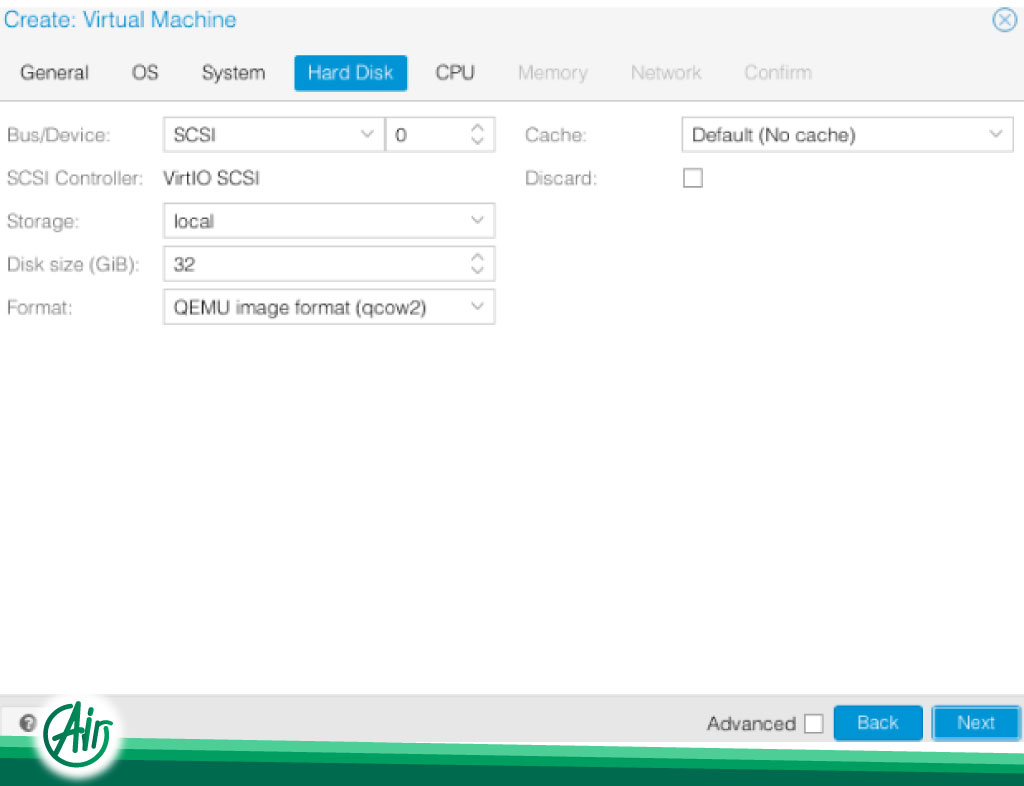
Once you have selected the hard disk space you need, click the Next button. On the CPU tab, select the number of cores you need for your virtual machine.
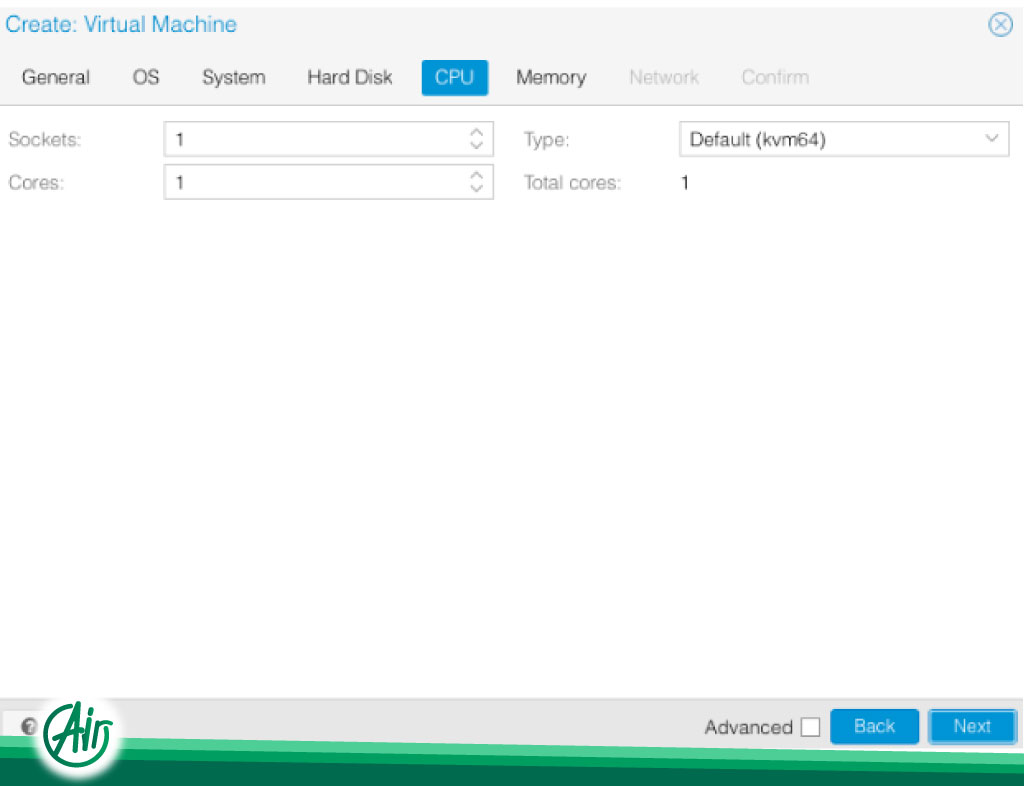
After setting the CPU settings, click Next. On the Memory tab, select the amount of RAM you want to allocate to your VM.
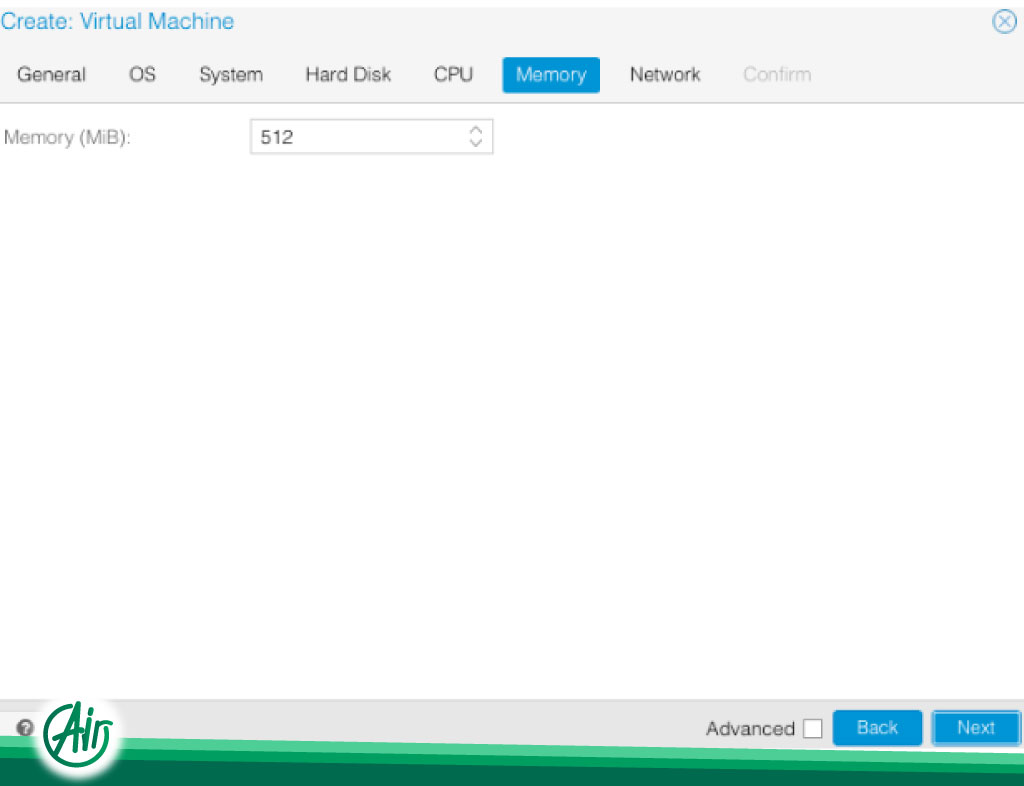
Click Next to go to the Network tab. For network information, please check the article How to connect a virtual machine to the Internet using Proxmox VE. Once you get to the confirmation tab, make sure the information is correct, and then click Finish. Your VM will be created with the parameters you selected.
Step 3 – Installing the operating system in Proxmox VE
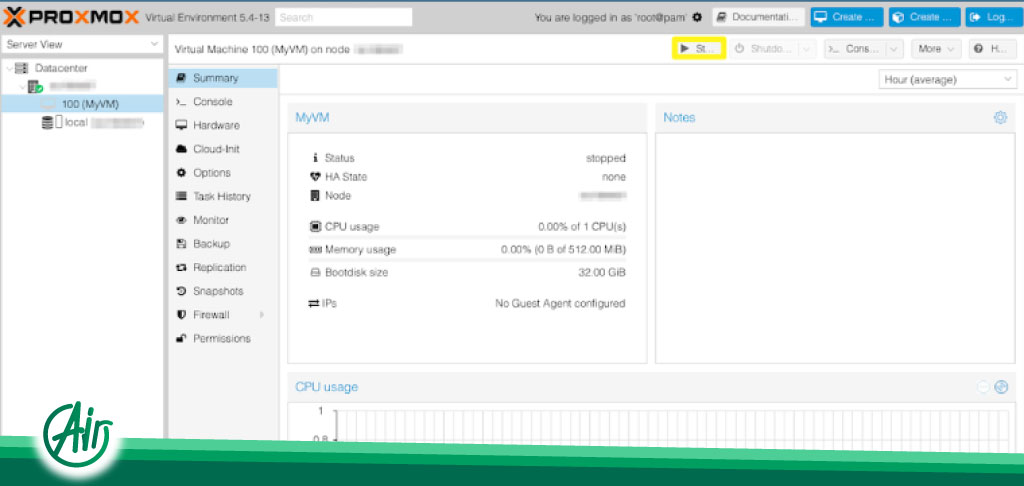
Operating system installation time will vary depending on the operating system you choose. However, you can easily start the installation in the Proxmox VE user interface. To start, select your virtual machine from the “Server View” panel on the left side of your screen. Start the VM by clicking the Start button at the top of the screen.
Once the VM starts, click the Console button at the top of the screen and select the noVNC console.

With this, you can check the installation steps. Finally, after these steps, your VM is created.