How to Enable the Exif Extension in DirectAdmin
How to enable the Exif extension in DirectAdmin? In this article, we will guide you through the process of installing and enabling the Exif extension in DirectAdmin on a CentOS 7 operating system with Apache web server.

Step-by-Step Guide
1.Connect to Your Server via SSH:
- Use an SSH client to connect to your server and execute the following commands:
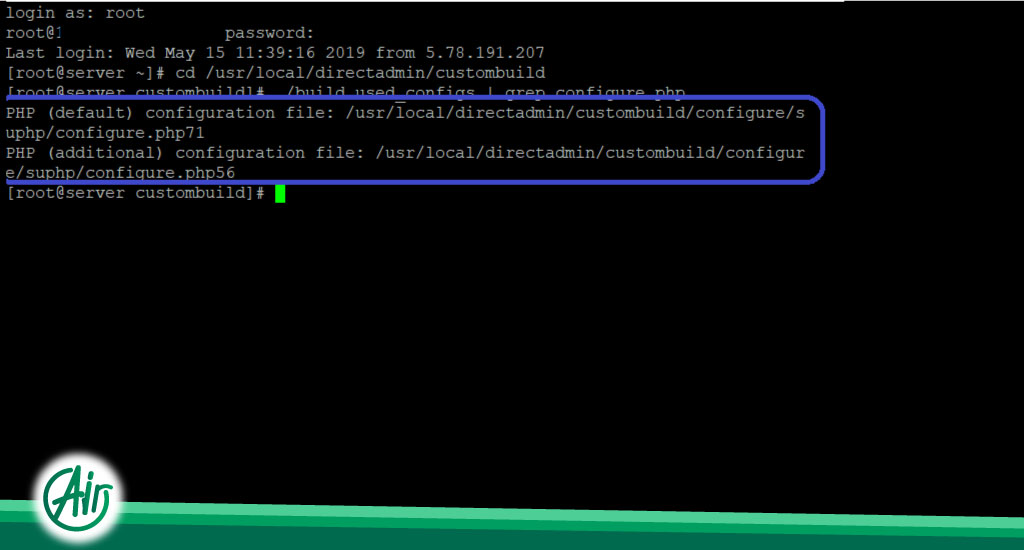
cd /usr/local/directadmin/custombuild

./build used_configs | grep configure.php
- This command will show you the configuration file details. On our test system, it appeared as follows:
PHP (additional) configuration file: /usr/local/directadmin/custombuild/configure/suphp/configure.php56
2.Modify Configuration Files:
- Navigate to the custombuild directory and create a custom configuration directory:
cd /usr/local/directadmin/custombuild

mkdir -p custom/suphp
- Copy the existing configuration file to the custom directory:
cp -fp configure/suphp/configure.php56 custom/suphp/configure.php56
- If your server uses a different setup (e.g.,
ap2instead ofsuphporphp71instead ofphp56), modify the commands accordingly.
3.Edit the Configuration File:
- Open the copied configuration file for editing:
vi custom/suphp/configure.php56
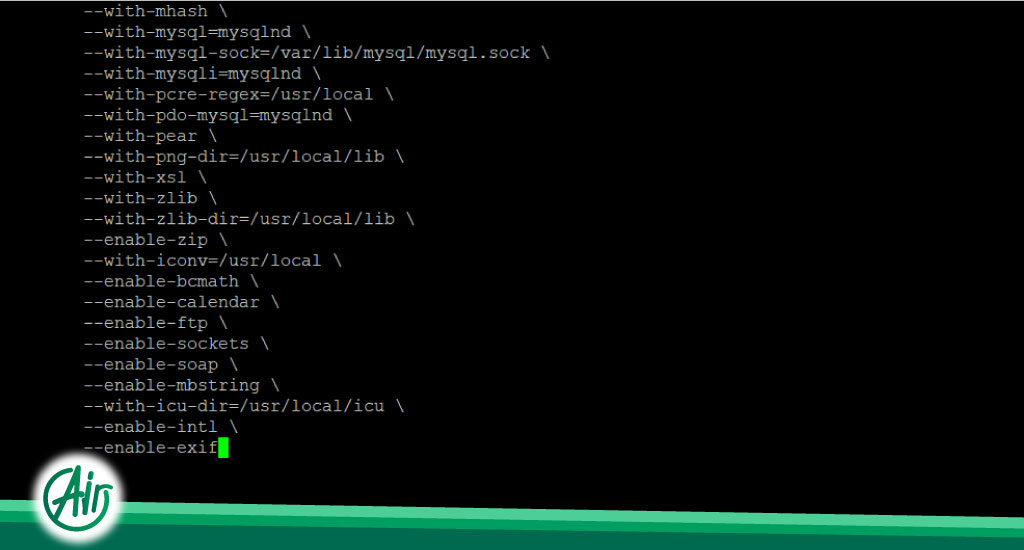
- Add the following line at the end of the file:
--enable-exif
- Ensure there is a backslash (
\) at the end of the previous command in the file.
4.Rebuild PHP and Restart Apache:
- Run the following commands to rebuild PHP and restart the Apache web server:
./build php n

service httpd restart
5.Verify the Installation:
- To confirm the Exif extension is installed correctly, run the following command to see the list of active modules on your server:
php -m
- If the installation was successful, you will see
exiflisted among the modules.
Conclusion
By following these steps, you can successfully install and enable the Exif extension in DirectAdmin on a CentOS 7 server with Apache. This will allow you to manage and read Exif data from images, enhancing the functionality of your server.