Differences between Apache on Ubuntu and RedHat based distributions

The reason why we need to specify which Linux distribution we are using to install Apache is that the process of installing and configuring this web server is different in each one. For example, in Ubuntu, the Apache web server is install through the apache2 package. While in Redhat-based distributions, we install this web server using the httpd package. Another difference is that the Apache configuration file is different in each distribution. For example, in Ubuntu, the settings are in /etc/apache2/apache2.conf and /etc/apache2/sites-available. If in Red Hat Base operating systems, the web server settings are in /etc/httpd/conf/httpd.conf.
How to install Apache on Ubuntu
There are different ways to install it on Ubuntu. If you only want the original software, open a terminal and enter the following command.
sudo apt-get install apache2 –y
After doing this command, It will install on the server. To ensure the availability of the Apache service, you can use the following command.
sudo systemctl enable apache2.
Apache can install in Red Hat Base operating systems using the following command.
apt install httpd
Enter the address http://SERVER_IP in your browser (instead of SERVER IP enter the IP address of your server).
By viewing the Apache welcome page, you can confirm the correct installation of this web server on the server.
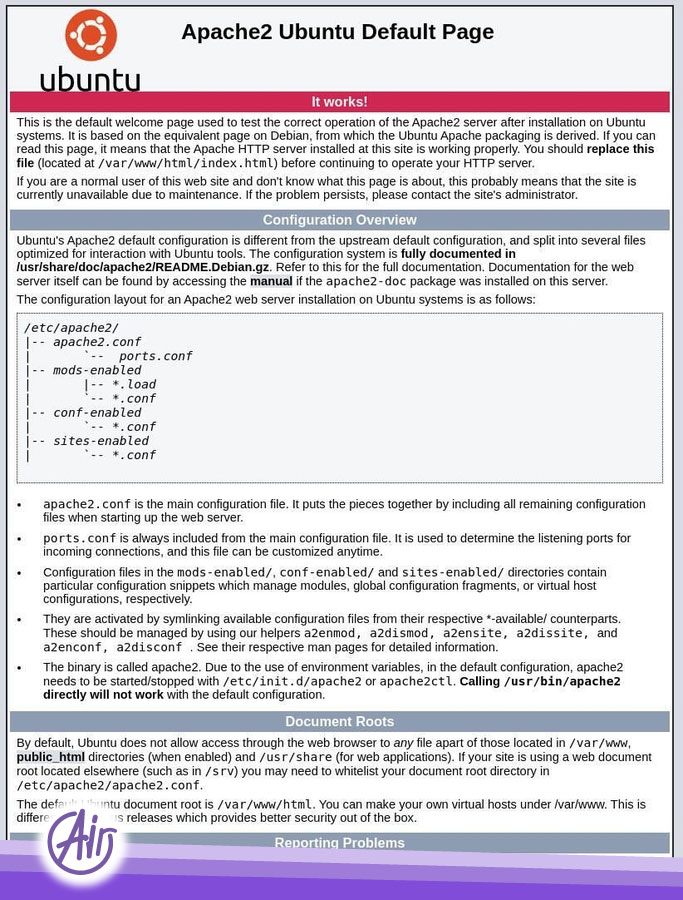
To access the page file that Apache is displaying, look at the /var/www/html address.
In this way, the settings of this page are done in the index.html file.
How to build a site using Apache
What we want to do now is to create a virtual host for it so that we can use this server to host multiple websites. Next, we will build a test host. In the first step, we create a directory for the Test host with the following command.
sudo mkdir -p /var/www/html/test
Then, with this command, we set the ownership of the directory.
sudo chown -R $USER:$USER /var/www/html/test
Finally, we apply the necessary access using the following command.
sudo chmod -R 755 /var/www/html/test
We transfer the new index.html file to the new host folder.
sudo cp /var/www/html/index.html /var/www/html/test
Now we need to include these settings in a file for Apache so that it knows where the files of these hosts are located. We create a file at /etc/apache/sites-available.
sudo nano /etc/apache2/sites-available/test.conf
Enter the following settings in the file.
ServerAdmin admin@example.com
ServerName example.com
ServerAlias www.example.com
DocumentRoot /var/www/html/test
ErrorLog ${APACHE_LOG_DIR}/error.log
CustomLog ${APACHE_LOG_DIR}/access.log combined
Finally, your host is created and you can host your website.